How to Transfer Files from a macOS Device to a Server?
Step 1
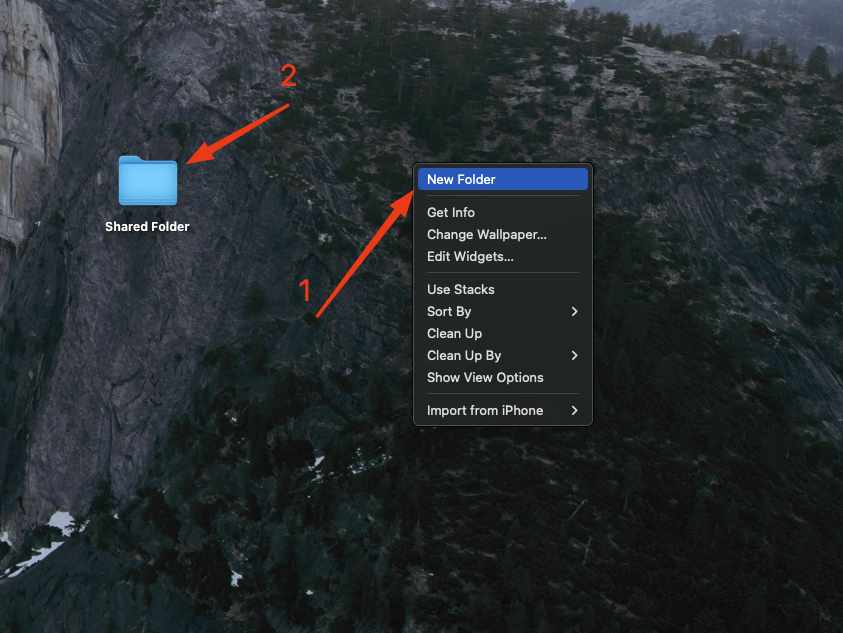
On your macOS computer, create a new folder in your desired location and give it a name that will make it easy to find. Place all the files you want to transfer to your VPS in this folder.
In the example below, we created a new folder on the desktop and named it “Shared Folder.”
Step 2
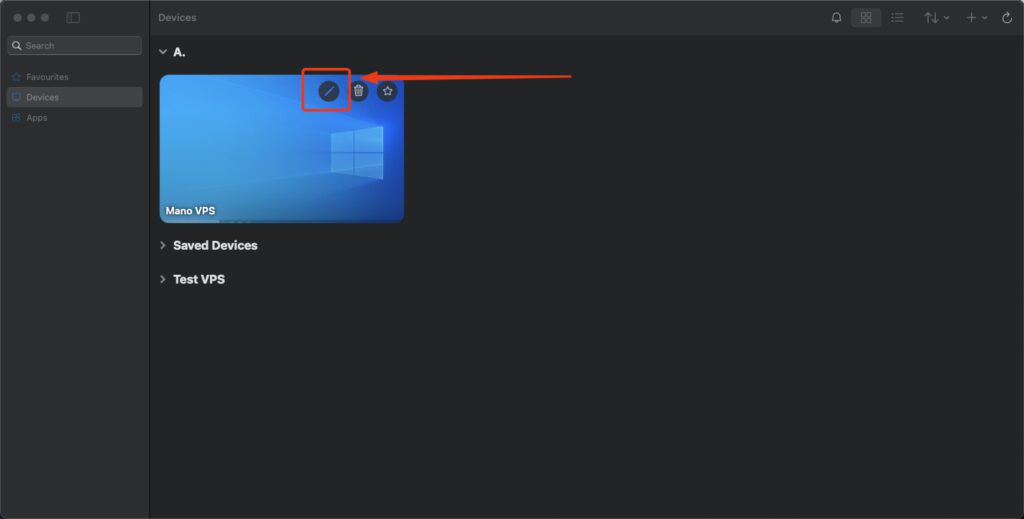
Open the “Windows App” program, hover your mouse over your virtual server, and click the edit icon. Another way to do this is by right-clicking on your remote computer in the list and selecting “Edit.”
Step 3
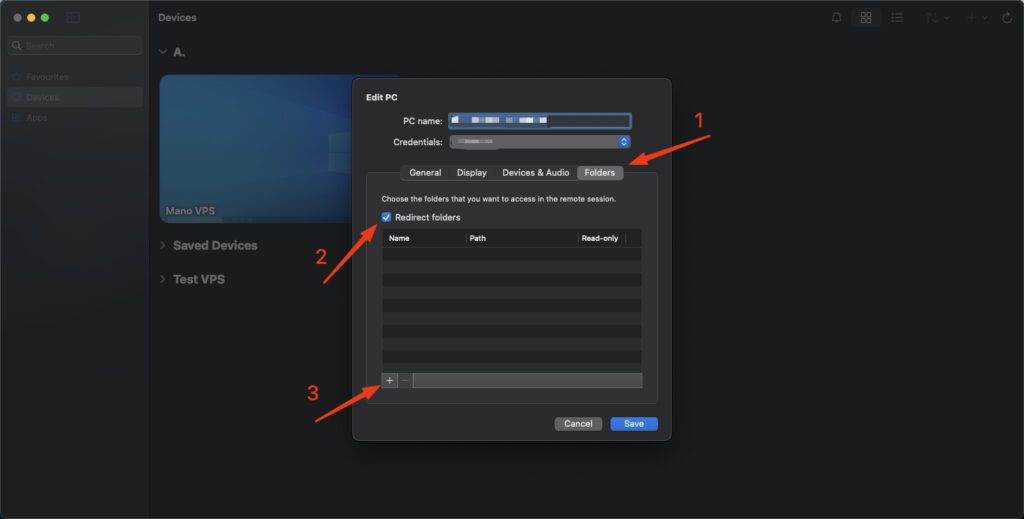
In the new window, you can change additional settings related to your remote computer. To add the shared folder for easy file transfer, go to the “Folders” section, check the box next to “Redirect folders,” and click the “+” icon at the bottom to add your folder to the list.
Step 4
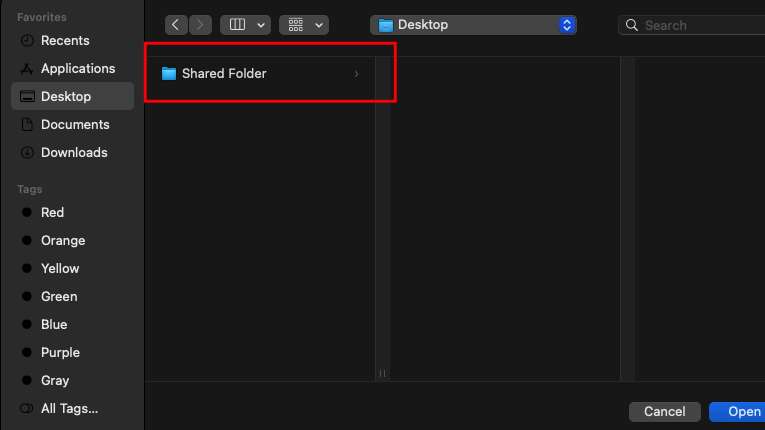
Select the folder you created in Step 1. In our case, it’s the “Shared Folder” on the desktop.
Once you’ve added the folder to the list, save the settings and log in to the server as usual.
Step 5
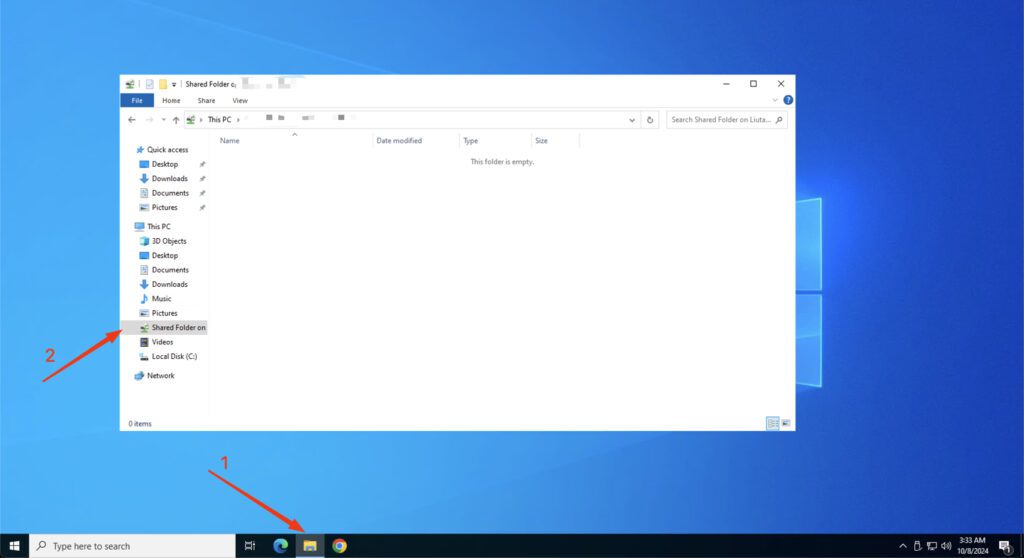
Once logged into your virtual server, open “File Explorer” by clicking the icon on the taskbar, and select the shared folder from the left-hand menu. If everything was done correctly, you’ll see all the files you transferred to this folder on your macOS computer.
 Liutauras Morkaitis